Hey there! I'm a supplier of hinge attachments, and I know how frustrating it can be when you've got a bent hinge attachment on your hands. But don't worry, I'm here to walk you through the process of fixing it.
1. First Things First: Assess the Damage
The initial step in mending a bent hinge attachment is to take a good look at the problem. You need to figure out how bad the bend is and what parts are affected. Sometimes, it might just be a minor bend that you can straighten out easily. Other times, it could be more serious, maybe involving multiple components.
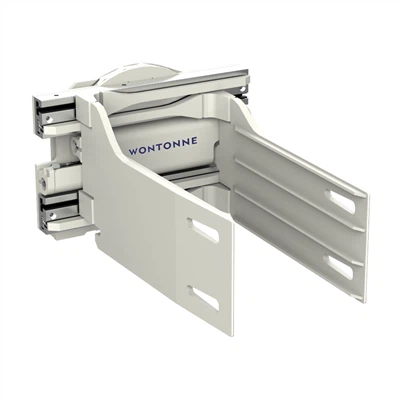
For instance, if you're dealing with our Hinged Broke Handler - HKB30D, you'll want to check the hinge pins, the main body of the handler, and the connecting arms. If there's a visible kink in a pin or a crack near the hinge area, that's a sign of significant damage.
2. Gather the Right Tools
Once you've sized up the problem, it's time to get your tools ready. You're going to need basic stuff like a hammer, some wrenches (the right sizes for your hinge attachment), and maybe a vise if the hinge is small enough to be held securely. A file can also come in handy for smoothing out rough edges after you've straightened things up.
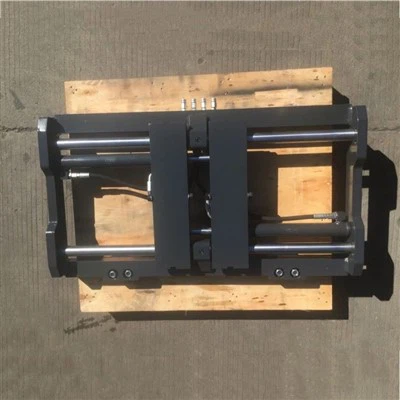
If your hinge attachment is part of a hydraulic system, like in our Hinged Broke Handler, you'll need some specialty tools too. These could include pressure gauges to check the hydraulic fluid levels and couplers to disconnect and reconnect the hydraulic lines safely.
3. The Art of Straightening
Let's get into the actual repair. If it's a small bend in a metal part, you can use the hammer and a flat surface. Place the bent part on a solid, flat area and gently tap it with the hammer. Start from the edges of the bend and work your way towards the center. Keep checking the alignment as you go. You don't want to overdo it and end up with a misaligned hinge.
For bigger bends, a vise can help hold the part steady while you use more force. Just make sure to protect the surface of the part with some soft material like a piece of rubber or cloth to avoid scratching it.
When dealing with hydraulic components, be extra careful. Before you start working on them, relieve the pressure in the system. You can do this by following the manufacturer's instructions for bleeding the hydraulic lines. Once the pressure is off, you can inspect the hydraulic cylinders and hoses for any signs of damage.
4. Inspect the Hinge Pins
Hinge pins are crucial in making sure your hinge attachment works smoothly. Check the pins for signs of wear, corrosion, or bending. If a pin is bent, you might be able to straighten it using a pair of pliers or a small hammer. But if it's severely damaged, it's better to replace it.
Removing a pin can be a bit tricky. You might need to use a pin punch to drive it out. Make sure you support the opposite end of the pin so it doesn't get stuck or damaged. Once you've got the old pin out, clean the hole thoroughly with a wire brush or some solvent to make sure the new pin fits properly.

5. Lubrication and Reassembly
After you've straightened or replaced the necessary parts, it's important to lubricate them. This helps reduce friction and wear, and it also makes the hinge operate more smoothly. Use a high - quality lubricant that's suitable for the materials in your hinge attachment.
When you're putting the hinge attachment back together, double - check that all the parts are in the right place. Tighten the bolts and nuts to the correct torque specifications. You don't want them to be too loose or too tight. If you're working on a hydraulic system, reconnect the hoses carefully and make sure there are no leaks.
6. Testing the Repaired Hinge
Once everything is back together, it's time to test the hinge attachment. If it's a small, manual hinge, just open and close it a few times to see if it moves freely. Listen for any strange noises, like grinding or clicking.
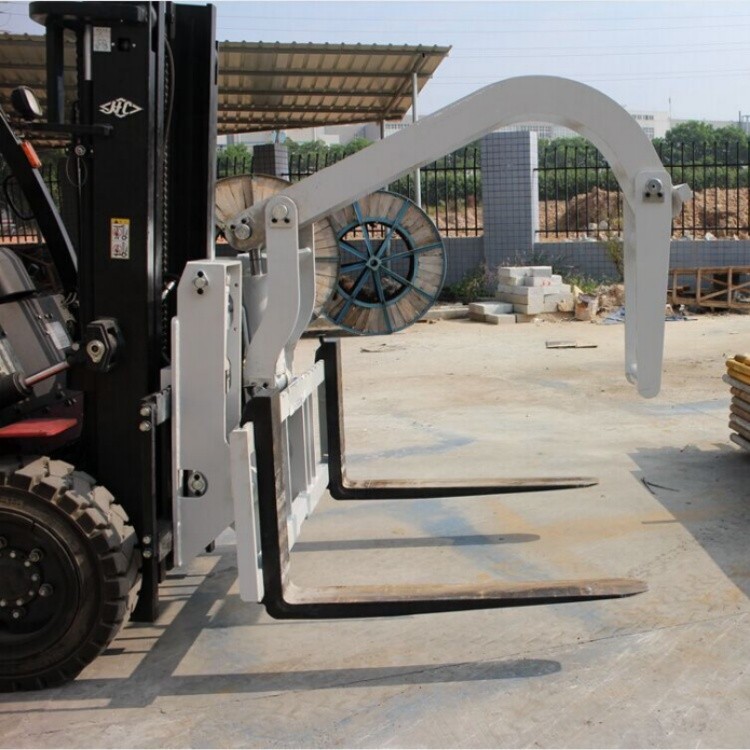
For hydraulic hinge attachments like our Hinged Steel Pipe Handler, start the hydraulic system and operate the hinge. Check the pressure gauges to make sure the system is working within the normal range. If you notice any problems during the test, go back and re - check your repair work.
7. Preventing Future Damage
Now that you've fixed your bent hinge attachment, you'll want to take steps to prevent it from happening again. Regular maintenance is key. Keep your hinge attachments clean and lubricated. Inspect them regularly for signs of wear or damage.
If your hinge attachment is used in a harsh environment, like a construction site or a factory, consider adding some protective covers or guards. These can help shield the hinge from debris, dirt, and impacts.
Why Choose Our Hinge Attachments
As a supplier, we take pride in offering high - quality hinge attachments. Our products are designed to be durable and reliable. We use top - notch materials and advanced manufacturing techniques to ensure that our hinge attachments can withstand tough conditions.
Whether you need a Hinged Broke Handler - HKB30D for heavy - duty breaking tasks or a Hinged Steel Pipe Handler for handling steel pipes, we've got you covered. And if you ever run into any issues, our team of experts is always here to help.
Let's Talk Business
If you're in the market for hinge attachments or have any questions about our products, we'd love to hear from you. Whether you're a contractor, a manufacturer, or just someone who needs a hinge attachment for a specific project, we can work with you to find the right solution. Contact us to start a conversation about your requirements, and let's see how we can help your business succeed.
References
- Machinery's Handbook: A comprehensive guide to mechanical design and repair, which provides valuable information on hinge repair techniques.
- Hinge Attachment Manufacturer Documents: The official manuals and guides provided by our company for specific hinge attachment models, which offer detailed maintenance and repair instructions.