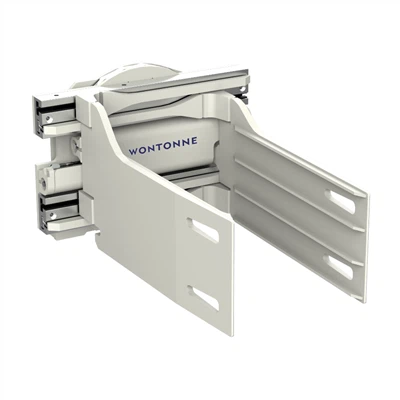
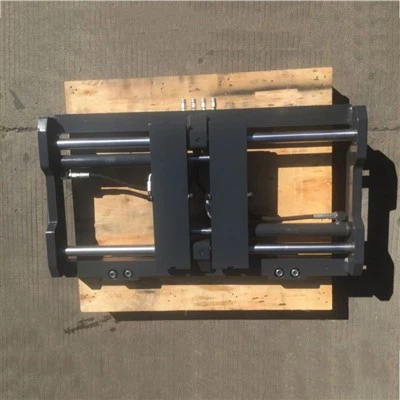
Aligning a hinge attachment during installation is a crucial process that can significantly impact the performance and longevity of the equipment. As a hinge attachment supplier, I understand the importance of providing clear guidance on this topic. In this blog post, I'll share some key steps and tips to ensure a proper alignment during the installation of hinge attachments.
Understanding the Basics of Hinge Attachments
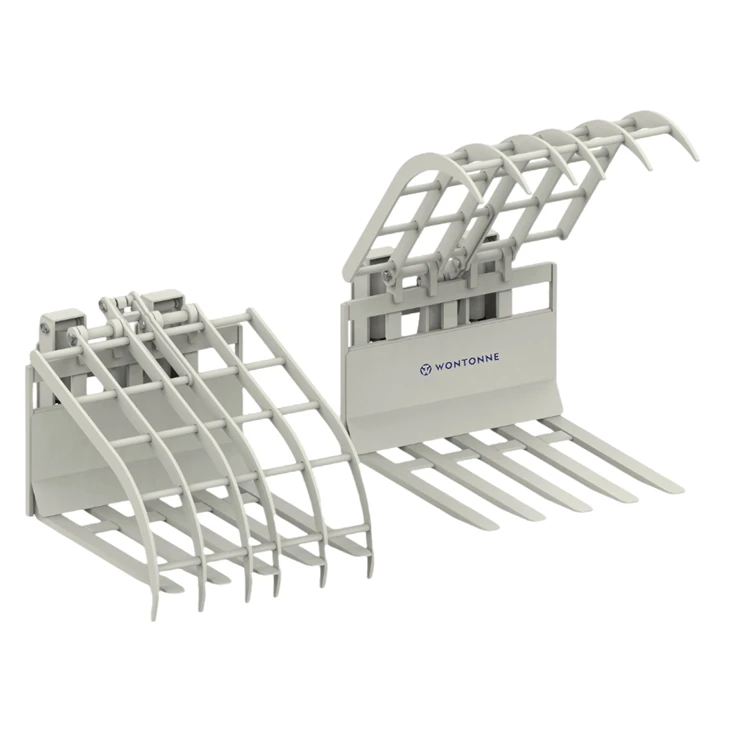
Before diving into the alignment process, it's essential to have a basic understanding of hinge attachments. Hinge attachments are mechanical components that allow two parts to pivot relative to each other. They are commonly used in various industries, including construction, manufacturing, and transportation. Our company offers a wide range of hinge attachments, such as the SPB45D Hinged Steel Pipe Handler, Hinged Broke Handler - HKB30D, and HFB25D Hinged Forks, each designed for specific applications.
Pre - installation Preparation
The first step in aligning a hinge attachment is proper pre - installation preparation. This includes gathering all the necessary tools and materials, such as wrenches, bolts, and alignment jigs. It's also important to thoroughly clean the surfaces where the hinge attachment will be installed. Any dirt, debris, or rust can affect the alignment and the overall performance of the attachment.
Measure the mounting points on both the equipment and the hinge attachment. Use precision measuring tools like calipers or micrometers to ensure accurate measurements. Compare the dimensions to make sure they match the specifications provided in the installation manual. If there are any discrepancies, it's crucial to address them before proceeding with the installation.
Initial Placement of the Hinge Attachment
Once the preparation is complete, carefully place the hinge attachment on the mounting surface. Make sure it is positioned correctly according to the installation markings or guides. Use alignment pins or jigs if available to hold the attachment in place temporarily. These pins or jigs help to ensure that the holes in the attachment and the mounting surface are properly aligned.
Check the orientation of the hinge attachment. It should be installed in the correct direction to allow for smooth operation. Some hinge attachments have specific instructions regarding the orientation, such as which side should face up or towards a particular component. Refer to the installation manual for detailed guidance.
Alignment of the Hinge Pins
The alignment of the hinge pins is a critical step in the installation process. The hinge pins allow the attachment to pivot, and any misalignment can cause excessive wear, binding, or even failure of the attachment.
Start by inserting the hinge pins into the holes on one side of the hinge. Make sure the pins are inserted smoothly and without any resistance. If the pins do not fit easily, do not force them. Instead, check for any obstructions or misaligned holes. Use a feeler gauge to check the clearance between the hinge pin and the hole. The clearance should be within the specified tolerance range to ensure proper operation.
On the other side of the hinge, repeat the process of inserting the hinge pins. Align the pins carefully to ensure that the attachment can pivot freely. You may need to make minor adjustments to the position of the attachment to achieve the correct alignment. Use a level or a straightedge to check the horizontal and vertical alignment of the hinge pins.
Torquing the Bolts
After the hinge pins are properly aligned, it's time to torque the bolts that secure the hinge attachment to the mounting surface. Using a torque wrench, tighten the bolts to the specified torque value. Over - tightening or under - tightening the bolts can lead to problems. Over - tightening can cause the bolts to break or damage the mounting surface, while under - tightening can result in the attachment coming loose during operation.
Follow the sequence of tightening the bolts as recommended in the installation manual. Usually, the bolts should be tightened in a cross - pattern to ensure even distribution of the clamping force. This helps to maintain the alignment of the hinge attachment and prevents it from shifting.
Testing the Alignment
Once the hinge attachment is installed and the bolts are torqued, it's important to test the alignment. Operate the equipment to which the hinge attachment is installed and observe the movement of the attachment. The attachment should pivot smoothly without any binding or excessive noise.
Check for any signs of misalignment, such as uneven wear on the hinge pins or the contact surfaces. If you notice any issues, stop the operation immediately and re - check the alignment. Make any necessary adjustments to the hinge attachment or the mounting surface to correct the problem.
Fine - Tuning the Alignment
In some cases, you may need to fine - tune the alignment of the hinge attachment after the initial testing. This can be done by making small adjustments to the position of the attachment or the tension of the hinge pins.
Use shims or spacers if necessary to correct any minor misalignments. Shims can be inserted between the attachment and the mounting surface to adjust the height or the angle of the attachment. However, make sure to use shims that are compatible with the material of the attachment and the mounting surface.
Maintenance and Long - term Alignment
Proper maintenance is essential to ensure the long - term alignment of the hinge attachment. Regularly inspect the attachment for any signs of wear, damage, or misalignment. Lubricate the hinge pins and the moving parts according to the manufacturer's recommendations.
Keep the mounting surface clean and free from debris. Any accumulation of dirt or debris can affect the alignment and the performance of the hinge attachment. If you notice any issues during the inspection, address them promptly to prevent further damage.
Importance of Professional Installation
While it's possible to install a hinge attachment on your own, in some cases, it's advisable to seek professional installation services. Professional installers have the experience and expertise to ensure that the hinge attachment is installed correctly and aligned properly. They also have access to specialized tools and equipment that can make the installation process more efficient and accurate.
If you are unsure about any aspect of the installation or alignment process, do not hesitate to consult with a professional. They can provide valuable advice and guidance to ensure the successful installation of your hinge attachment.

Conclusion
Aligning a hinge attachment during installation is a complex but essential process. By following the steps outlined in this blog post, you can ensure that your hinge attachment is installed correctly and aligned properly. This will not only improve the performance and longevity of the attachment but also enhance the safety and efficiency of your equipment.
If you are in need of high - quality hinge attachments or have any questions about the installation process, please feel free to contact us. We are here to provide you with the best products and support to meet your needs.
References
- Hinge Attachment Installation Manuals
- Machinery Handbook for Mechanical Components
- Industry Standards for Hinge Attachment Installation